In case you missed it, Google just rolled out the AI Image Editor to support additional campaign types.
Originally launched for Performance Max campaigns, it now supports these additional types:
- Search
- Display
- App
- Demand Gen.
If you’re not familiar with the AI Image Editor tool, have no fear!
This tutorial, originally posted by Google Ads, breaks down how you can start taking advantage of the tool to save you time and money.
What Can the AI Image Editor Do?
With the help of Google AI, the image editor tool can help create new high quality image assets, as well as edit existing assets in your PPC campaigns.
When it comes to editing image assets, there’s a wide variety of features to choose from. These include:
- Removing image background
- Replacing image background
- Add and erase objects and images
- Extend images outside their existing aspect ratio.
How to Find the Google Ads AI Image Editor Tool
There are two different ways to access the AI image editor tool in Google Ads.
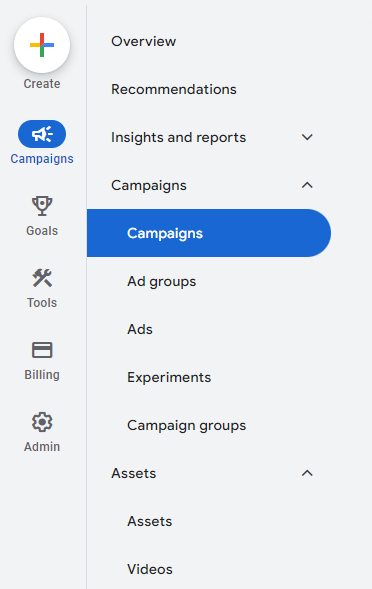
On the left-hand side of the menu, click the “+” Create button, then choose “Asset”.
Additionally, you can click “Assets” in the left-hand menu to be taken to the Asset Library.
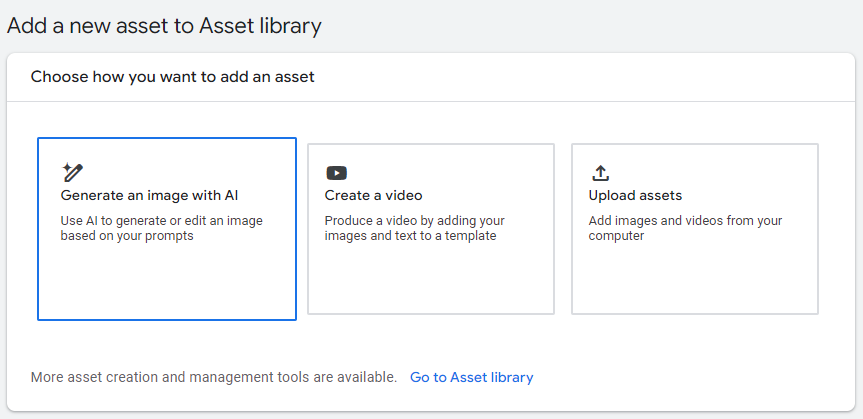
From there, you choose “Generate an image with AI” to get started.
To generate a new image, you’ll need to give a description of what you want it to look like.
In the example below, I typed “A blue couch against a neutral colored wall, with canvas photos hanging on the wall. The floor is light grey wood.”
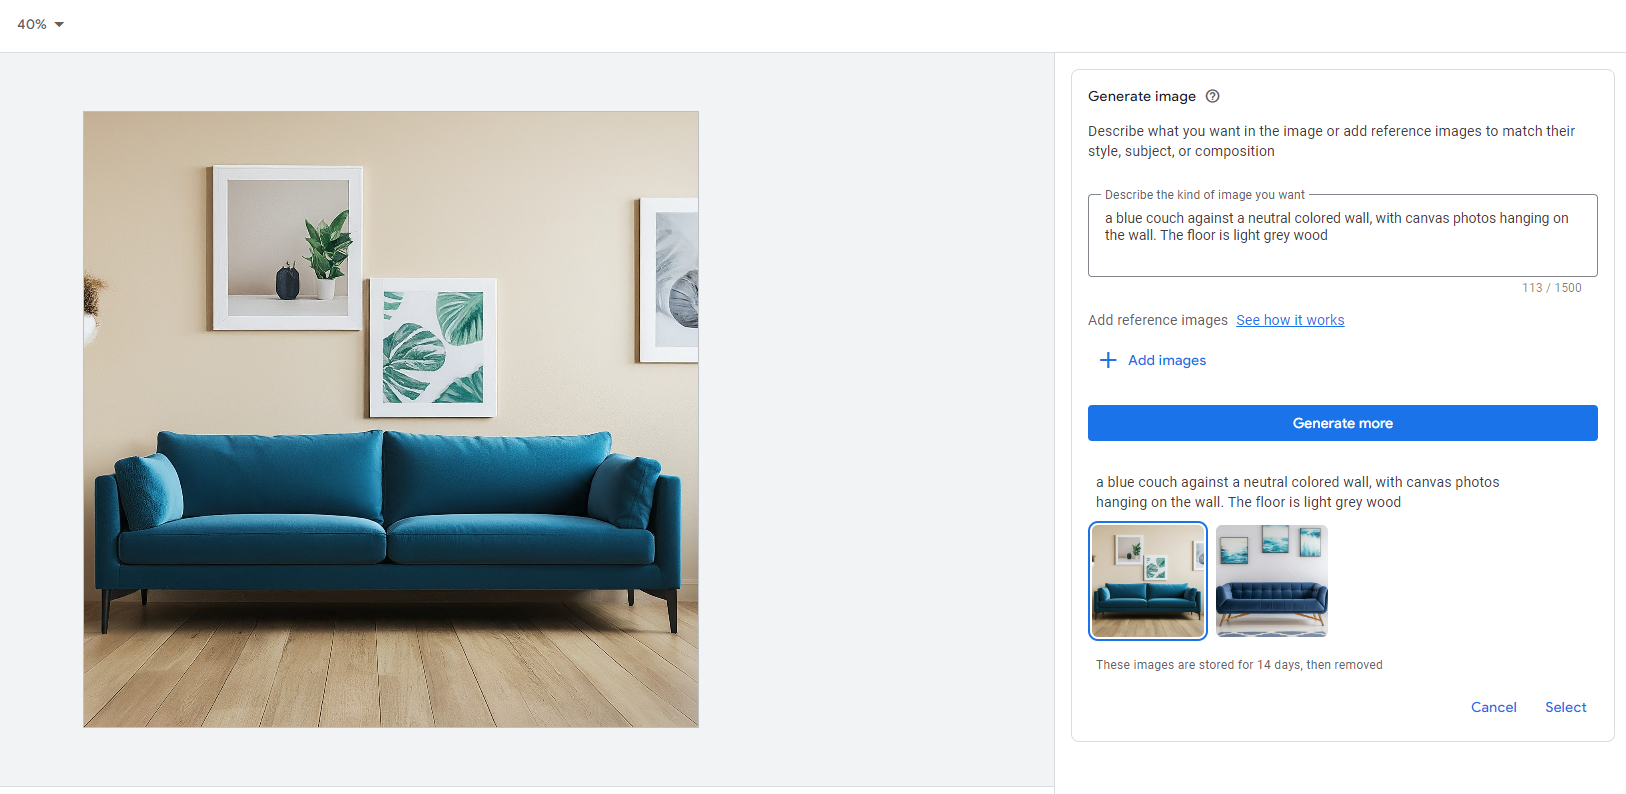
In the example, it generated two images to choose from, with the option to generate more.
Once you’ve selected the image you want to use, then you can get to editing more.
How to Edit Image Assets with Google AI
Now that you’ve selected your image to use, you can edit the following aspects:
- Remove background
- Erase object
- Add new object
- Replace object
- Expand image
- Adjust color
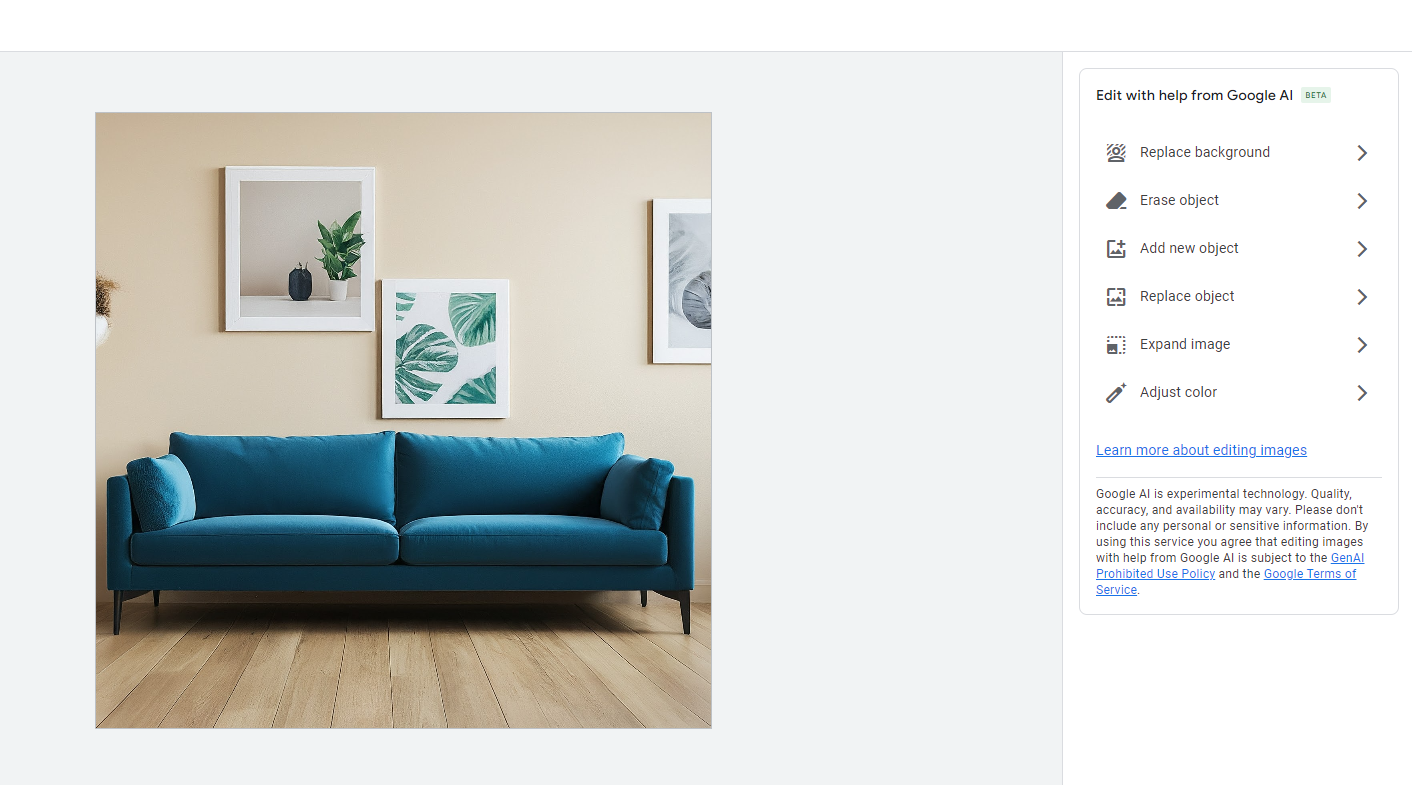
Click on any of the options on the right-hand side to start editing.
In this example, say I want to remove one of the canvas photos in the background and replace it with a clock.
First, click on “Replace object”, then click and drag over the canvas photo. Then, click “Next”.

Then, to replace an object, create a description of the type of object you want to replace the selected object with. Then, click “Generate”.
Continuing in this example, I wrote, “A square clock that matches the blue color couch.”
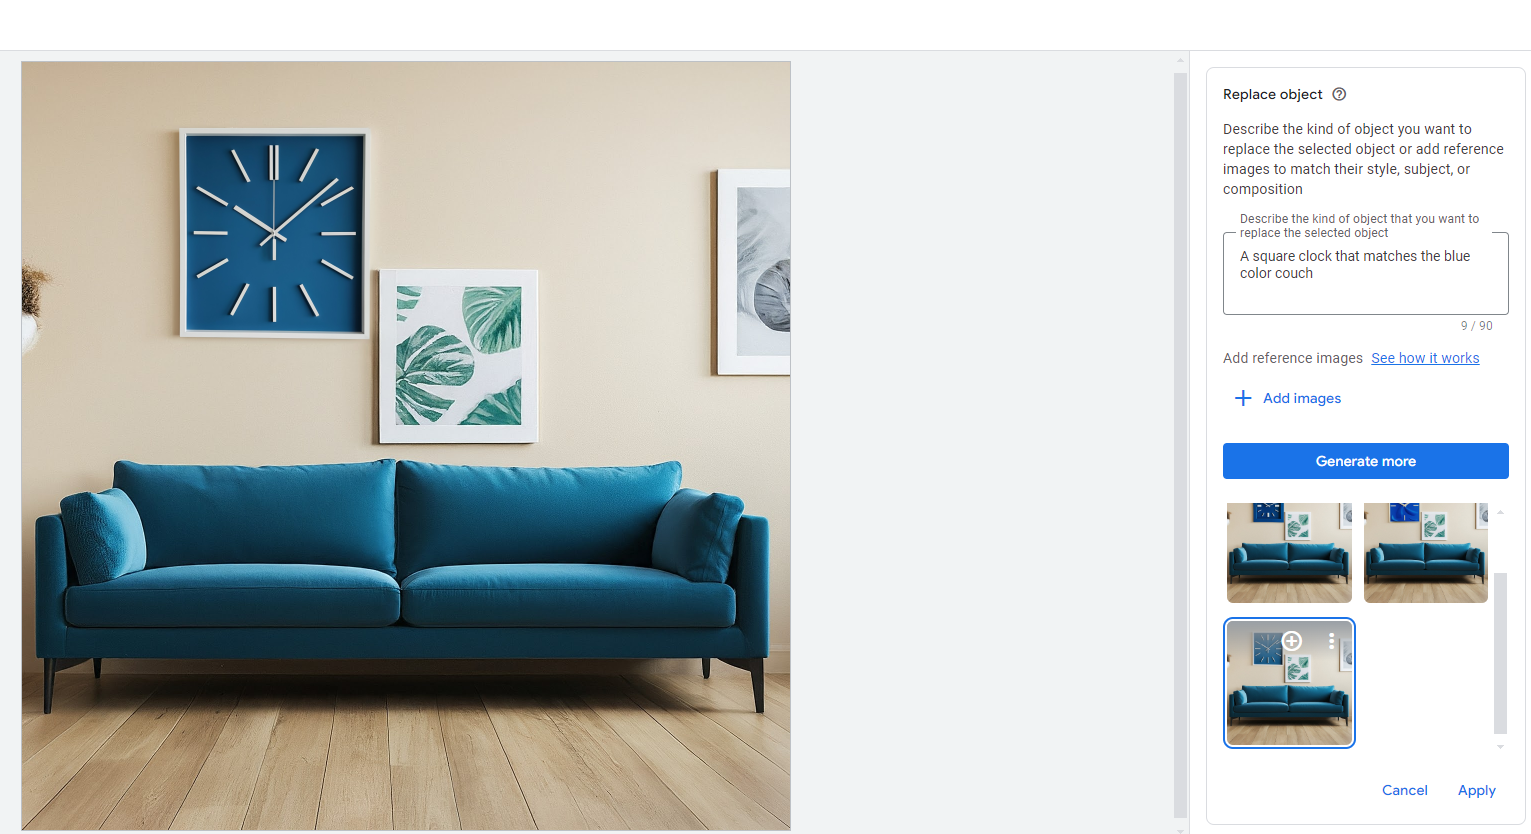
In this example, Google AI gave me three options to choose from, with the option to generate more.
You can follow these examples with the other functionalities all within the AI image editor tool.
Summary
The Google Ads AI image editor can help save advertisers time and resources with asset creation.
It gives you creative flexibility with built-in controls to ensure the images meet your level of standards and produce accurate content to complement your ads.
Now that the tool has expanded to more campaign types, it opens up new possibilities for more brands while keeping their brand identity aligned.
Will you be trying the AI image editor tool out anytime soon?
