Last month, Google dramatically expanded indented results in organic SERPs. A recent study by Moz of 10,000 competitive keywords showed that up to 40% of SERPs displayed indented results on page one. Here’s just one example:

Google has determined that both pages are relevant to this search (for “how many algorithm updates per year”), but that the specific blog post is more relevant. Indented results are of particular interest to SEOs because not only can you double-dip, but the indented listing(s) can, in some cases, get pulled from lower positions and effectively get a ranking boost.
I’m happy to report that our STAT Product team has been hard at work implementing indented results in rank tracking and they are now available in SERP feature tracking. Here’s a quick walk-through of how to put indented results data to work.
Step 1: The SERP Features tab
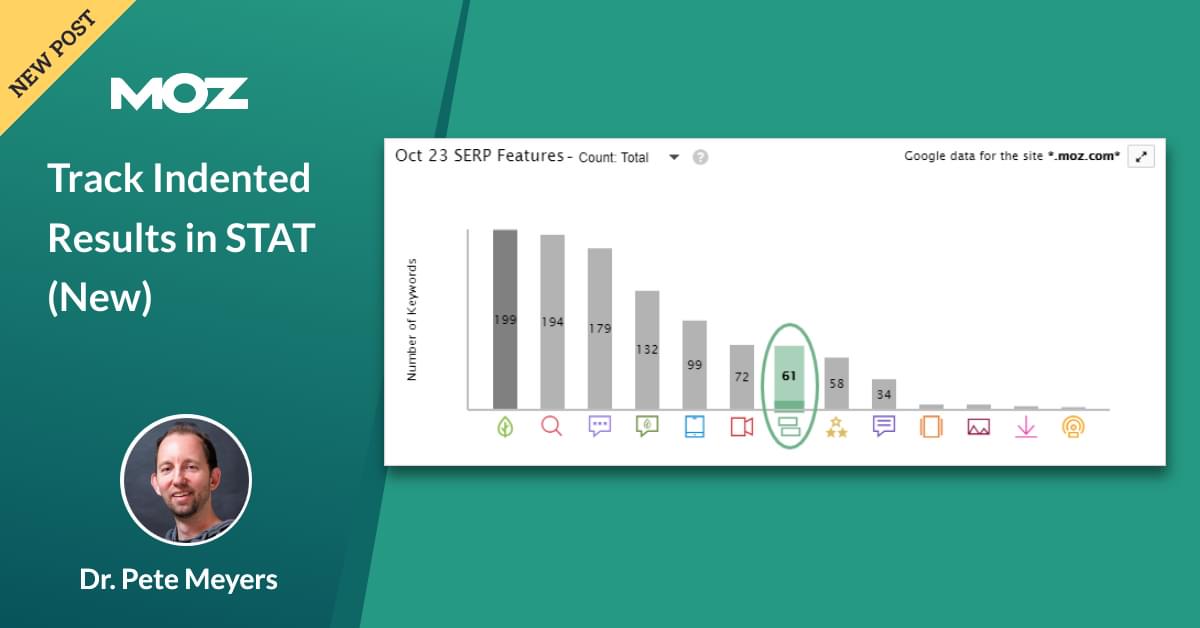
You can quickly get an overview of indented results for your site by clicking on the “SERP Features” tab. You’ll see the indented results icon (two green rectangles, with one indented) in both the legend and the SERP Features graph, which you can view by share of voice or total count:

I’ve chosen “Count: Total” here, so that the feature doesn’t get dwarfed by organic results. You can use the legend to easily add and remove features from this graph.
Step 2: Filter on indented results
Just click on the double-rectangle icon, and you’ll automatically get back a list of all keywords in your current tracked site that have indented results:

Of course, you’re probably interested in either protecting the indented listings you already own or going after listings that someone else owns. We’ve got you covered …
Step 3: Filter on owned vs. unowned
This is a bit easier if you zoom in on a single SERP feature, but the indented results bar is broken into two smaller bars showing both owned and unowned data:

Click on either section and the filter will automatically adjust to only show you keywords matching that choice. Here’s a sample screenshot for “owned” indented results:

What’s that you say? You want to track this data over time? No problem …
Step 4: Tag and track data over time
Click on “Tag All Filtered Keywords” above the keyword list, and you’ll get a dialog box like the one below. Just select “Dynamic tag”, give your tag a name, and click [Save] …

Now, you can easily track this filter from the “Tags” tab, and STAT will start collecting historical data for this filter, allowing you to see indented results that you win and lose over time.
