
Next to Google, YouTube is one of the most powerful search engines today.
Boasting over 120 million users daily, YouTube is a significant driver of views and engagement to the world’s vast library of video content.
With so much traffic potential, it’s no wonder that content creators flock to YouTube to get more eyes on their own content.
And with SEO, optimizing a YouTube channel is now easier than ever.
In this guide, I’ll walk you through creating and optimizing your own YouTube channel.
Step 1: Determine The Focus Of Your YouTube Channel
Before you immediately jump into launching a YouTube channel, pause.
Take some time to plan the focus of your channel, who you want to target, and what content you want to create.
Having a clear direction on where you want to take your channel will help you in many ways. It will help you:
- Establish a clear brand identity for your channel.
- Identify areas of interest for your audience and plan your content.
- Research relevant SEO keywords and optimize your channel.
- Create content that speaks to the needs of your viewers.
- Develop a laser-focused monetization strategy.
- Maintain consistency in your brand voice, content, and promotions.
You can also check out other YouTube channels for inspiration.
Or, if you’re creating a channel for your existing business, think about how the channel will tie into your existing products or services.
When I was daydreaming about starting my own YouTube channel, I started thinking about the types of topics I wanted to cover and the types of people I wanted to reach.
I knew I wanted to stand out against the sea of other video content creators and create content that spoke to my ideal audience.
Since I know SEO and have a knack for teaching content writing, I decided to focus on creating content for aspiring SEO writers and freelancers. Thus, The Confident Content Writer was born.
Step 2: Choose A Name For Your Channel
YouTube only allows you to change your YouTube channel name 3 times every 3 months (90 days), so it’s important to choose a name you’ll likely want to stick with.
Not only will this help you avoid changing it several times, but having an established name can help you build trust with users (through consistent branding).
If you have created a YouTube channel that’s related to an existing business, it’s recommended that the new channel name is similar to your existing business name. Again, for brand consistency!
If you are creating a personal channel, you can name it whatever you want.
However, your channel name does a lot in terms of telling users what your channel is about (and it may have SEO value as well).
For example, before I came up with the name for The Confident Content Writer, I considered using my first and last name.
However, my name doesn’t have much recognition, and it doesn’t indicate what my channel is about. I wanted users to know that my channel is all about content writing.
It’s okay if the name isn’t perfect – or if you have to change it in the future. I just recommend giving it some thought to helping you avoid a massive rebrand or confusing your audience.
Step 3: Create Your YouTube Channel
Creating the actual YouTube channel is very easy. All you need is a Google account.
You can sign up for a YouTube channel through your existing Gmail email address, or you can create a new one. Once you have a Gmail account, move on to the next steps
To create a Personal YouTube channel:
- Sign in to YouTube.com via your Gmail email address.
- Click your profile picture and then select “Create a channel.”
- YouTube will provide the next steps for creating a channel.
- Check the details (while logged into your Google Account) and confirm to create your channel.
To create a Business YouTube channel:
This is the process for creating a YouTube channel that can have more than one owner or collaborator.
You can then connect this new channel to an existing Brand Account (if you have one).
- Sign in to YouTube.com.
- Go to your channel list.
- Create a new channel or use an existing Brand Account.
- Create a channel by clicking Create a new channel. According to Google:
“Create a YouTube channel for a Brand Account that you already manage by choosing the Brand Account from the list. If this Brand Account already has a channel, you can’t create a new one. When you select the Brand Account from the list, you’ll be switched over to that channel.”
If you need more help setting up your YouTube channel, Google encourages you to ask the community.
Step 4: Customize Your Channel
Log into your YouTube channel to see multiple areas to customize your channel. Select Customize channel in the upper right-hand corner.
You will see the following tabs: Layout, Branding, and Basic info. Each of these tabs contains various fields for you to customize your channel, add graphics, and more.
Here are some of the fields I suggest taking a look at.
Channel Trailer
You can add a custom trailer for users who have not yet subscribed to your channel. Here’s how to create a trailer.
Picture
This is the featured image that shows up on your YouTube channel (the circle at the upper left-hand corner).
You can upload an image directly from your desktop or mobile device to change the picture. It’s recommended to use a picture that’s at least 98 x 98 pixels and 4 MB or less.
Banner Image
The banner appears across the top of your channel. This image should be eye-catching and, ideally, quickly indicate what your channel is about.
For the best experience across all devices, use a banner image that’s at least 2048 x 1152 pixels and 6 MB or less.
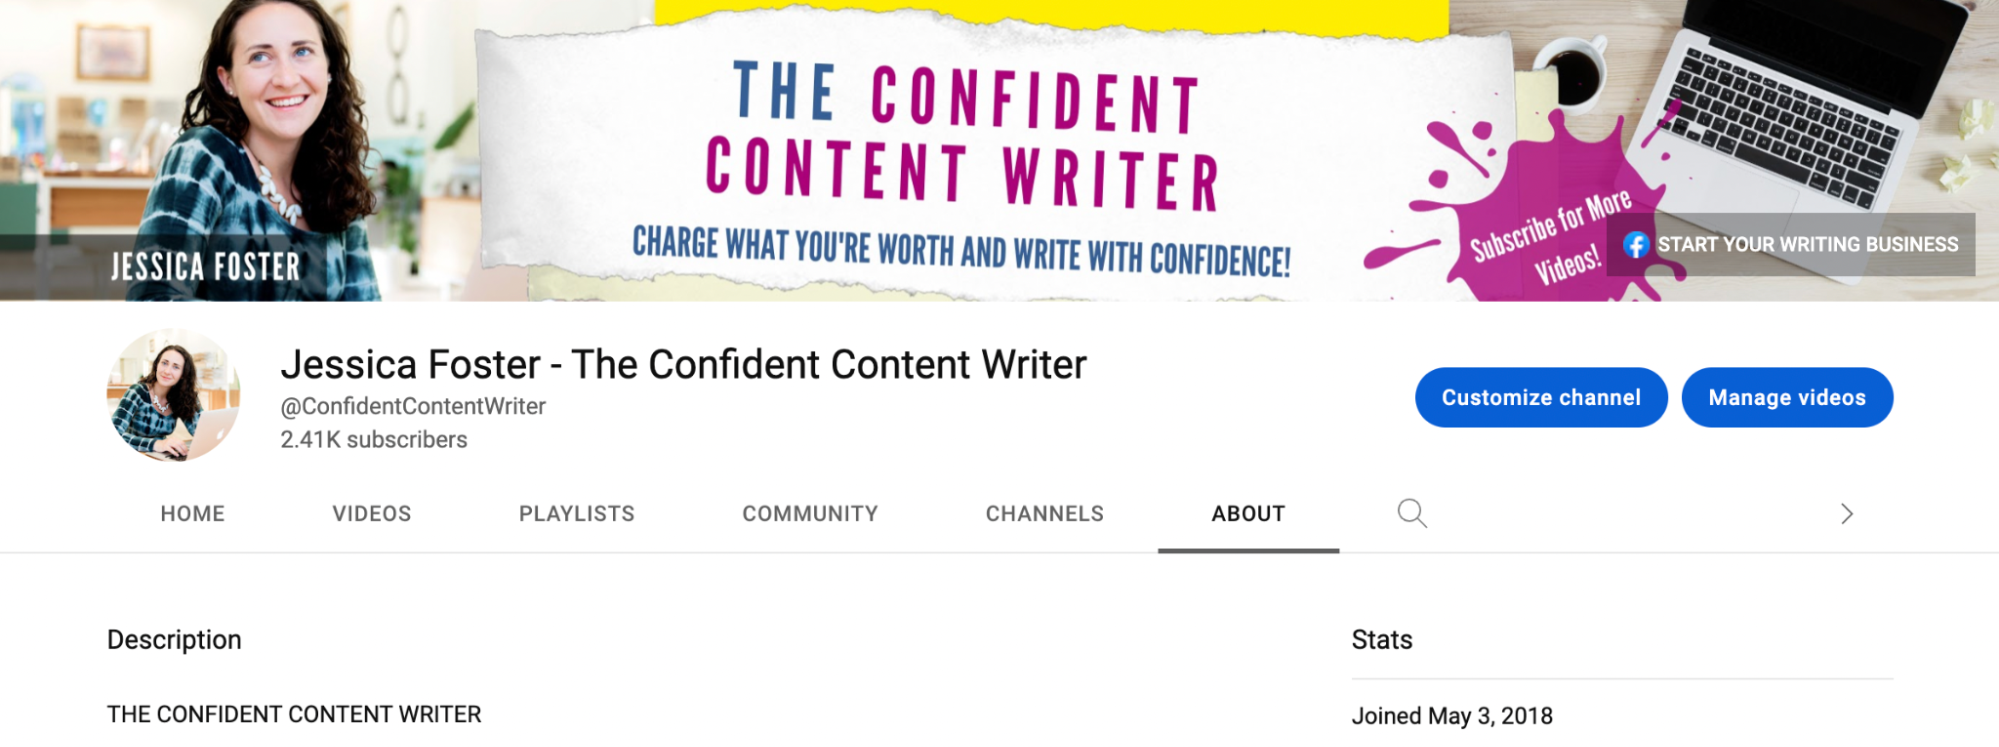 Screenshot from YouTube.com, March 2023
Handle
YouTube now allows creators to create custom handles (i.e., a custom URL tail) for their channel.
This should typically be your channel name, separated by hyphens (e.g., /confident-content-writer). Try to keep your handle as concise as possible.
Description
The description section contains text that tells your viewers what your channel is about. You want to catch users’ attention right away.
Some best practices include:
- Open with a “hook” or quick greeting, like “Welcome to my channel!”
- Introduce yourself. Tell users who you are and what topics you cover.
- Ask a question or include a call-to-action that prompts users to want to learn more, like “Want to learn more about SEO? Check out my videos!”
- Add URLs to related resources, like your website, Facebook Group, or course.
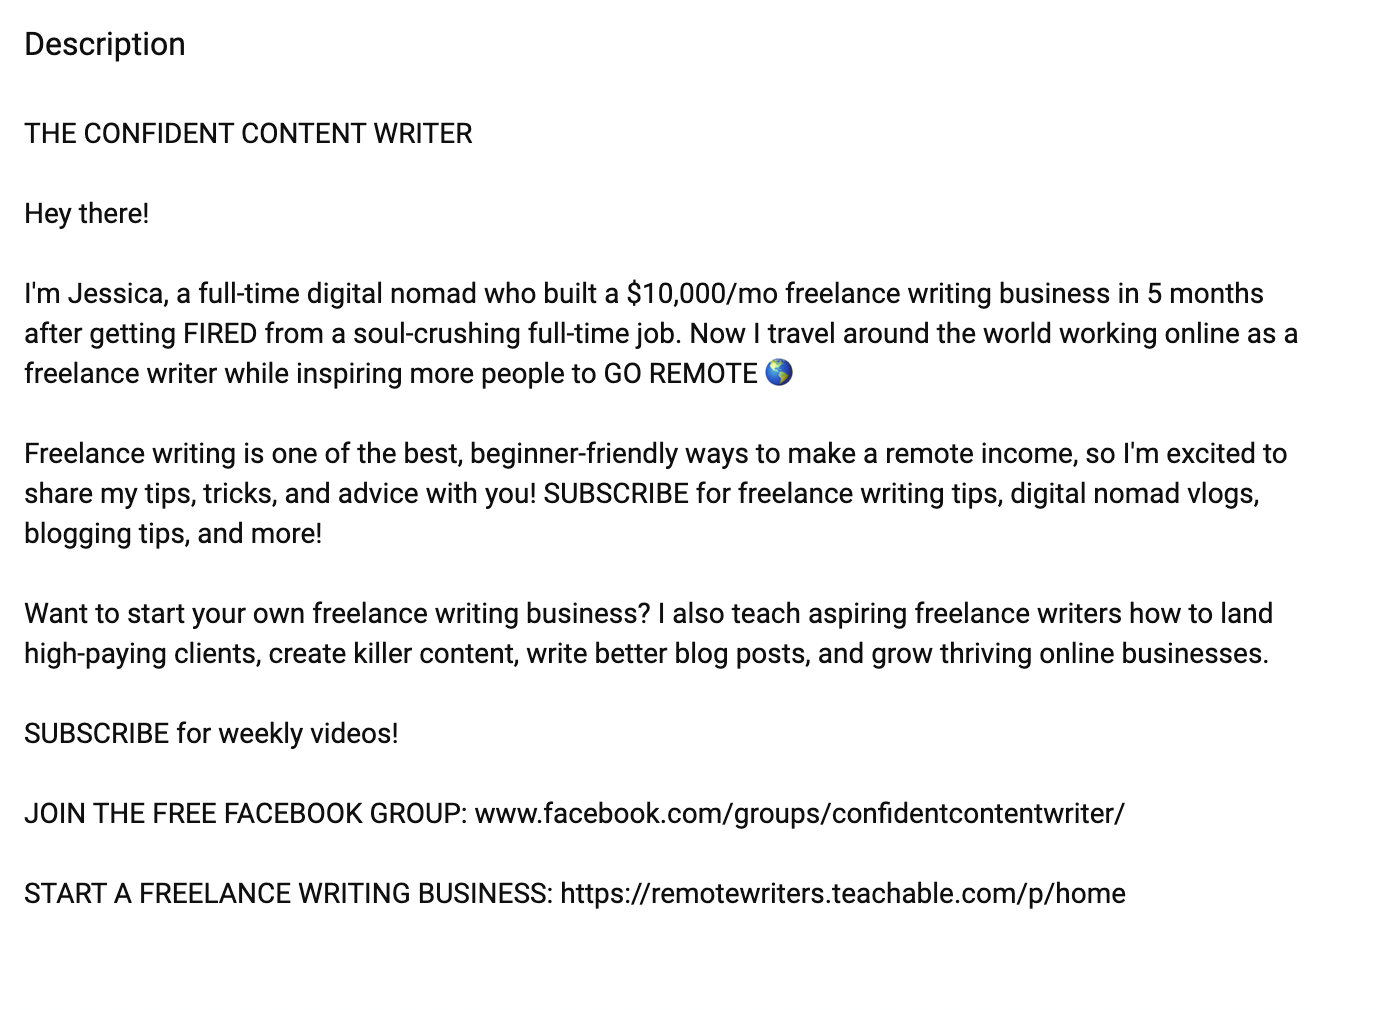 Screenshot from YouTube, March 2023
Details
The details section is where you can include your contact email address (for business inquiries, etc.) and your location. You can choose to exclude an email address if you wish.
Links
The links section lets you add hyperlinks to other websites, resources, etc. You can add a link to your blog, course, contact page, and more.
Step 5: Use YouTube SEO Tools
TubeBuddy is one of the most helpful YouTube SEO tools I’ve been able to find, and I use it every day.
It works as a Chrome extension and provides keyword recommendations, keyword stats, tag recommendations, competitor insights, and so much more.
Keyword Explorer is the main feature I use to find potential keywords based on relevance, volume, and competition level. You can use said keywords in your video title, description, and tags.
 Screenshot from TubeBuddy YouTube SEO tool, March 2023
The SEO Studio feature also provides recommendations for optimizing your video upon upload. TubeBuddy will then give you a “score” of how optimized your video is for YouTube search.
VidIQ and Semrush also have video SEO features that help you find potential keywords, identify opportunities via competitor research, monitor trends, create thumbnails, and “score” your video’s SEO.
Step 6: Plan Your YouTube Video Content
Once you have a YouTube SEO tool in your arsenal, planning your video content becomes much easier.
I don’t recommend guessing when it comes to video topic ideation; you’ll just end up spending a ton of time creating a video that doesn’t rank.
Use YouTube SEO tools to find high-volume, mid-to-low competition keywords that translate into great video topics for your channel.
I use TubeBuddy’s Keyword Explorer to generate new video ideas on a nearly monthly basis.
Then, I add these keywords (including their search volume and competition level) into a spreadsheet.
I then search for videos ranking for these keywords to identify related keywords, well-optimized titles, tags, and other elements to consider for my video.
The result is a running list of video ideas I can pull from every month.
Step 7: Create Video Scripts And Outlines
One of the keys to great YouTube SEO is viewer retention. The longer viewers watch your video, the better the algorithm “views” your content and ranks it in the YouTube search results.
With that in mind, you need to hit certain beats during your video to keep the viewers’ attention.
This includes having a “hook” in your introduction, key takeaways throughout your video, engaging graphics, and a helpful conclusion.
I find that writing video outlines (and/or scripts) beforehand makes for a much more engaging and organized video.
You can write these scripts as simply a bullet point outline in Google Docs or a notebook, but it will help you maintain viewer retention throughout the video.
Over time, you can look in your YouTube analytics to see your “Average view duration” to see how long people watch your videos. Anything over 30% is considered good; over 60% is considered great!
Step 8: Record And Edit Your Video
Following your video script, you can begin to record your video.
I recommend doing this in short clips to avoid missing any talking points, and you can add additional details as you go along.
There’s no need for a fancy camera to record a YouTube video. A ring light stand like this and a smartphone are really all you need to record a video.
Here are a few tips for recording a great YouTube video:
- Face your light source. Make sure to set up your camera so you are facing your primary light source (natural light is best). This could be a lamp or a large window. Avoid having the light source behind you, as this will cast shadows on your face, making it hard to see in the video.
- Keep your camera stable. As you are recording your video, you may need to pause, stop, and start again to capture the right clip. Keeping your camera stable prevents clips from being off-center (which can make editing difficult).
- Stop and start if needed. It’s normal to stutter and have “um”s and “ah”s in your video. Don’t be afraid to stop the recording and start again. You can always cut and combine the clips later.
- Look at the camera lens, not the screen. It may be tempting to look at your own face on the screen, but then it will look like you are looking off-camera instead of at the viewer. It is best to look directly at the lens so the final result is you’re making eye contact with your viewers.
Step 9: Encourage User Engagement
User engagement helps drive the performance and organic reach of your video.
Throughout your video, prompt viewers to answer questions, leave comments, give your video a like, subscribe, and share your video, so it gives positive engagement signals to the algorithm.
Not only that, but engaged viewers are likely to return again. You can respond to comments later on, attract new subscribers, and reap the benefits of users sharing your video on social media.
Here are a few tips for better user engagement:
- Add a “Like and subscribe” caption or animation to your viewer to encourage engagement.
- Ask viewers a question like “What SEO tools do you like most? Let me know in the comments!”
- Tell viewers, “Did you like this video? If so, share it with your friends!”
- Add an end screen to your video directing users to other videos on your channel.
- Add info cards to direct viewers to related content and videos.
Step 10: Add A Keyword To The Video Title
If you base your video on a particular keyword (as determined by your chosen YouTube SEO tool), then you will want to use this keyword in your video title.
Remember that you don’t necessarily need to include the exact keyword, but at least a close variation. (Think: “content marketing tools” vs. “content marketing software and tools.”)
Say, for example, your chosen keyword was “budget travel in Thailand.”
Some possible YouTube video titles could be:
- Thailand Travel On The Cheap – 10 Budget Travel Tips.
- Travel To Thailand On A Budget (Here’s How To Save!).
- Budget-Friendly Thailand: How I Saved $5,000 On My Thailand Trip!
- 5 Creative Ways To Save $$$$ In Thailand – Budget Travel Tips.
Remember, you also want to grab the users’ attention, so get creative with it. Use action words, adjectives, exclamation points, and the like.
I always recommend looking at competing video titles to ensure your title is more eye-catching than what’s already ranking.
Step 11: Optimize The Video Description
The video description is another area that matters for YouTube SEO and engagement.
Be sure to write a quick and punchy “hook” for the first sentence of the introduction. Then, go on to describe what the video is about.
Using the “budget travel in Thailand” example, one possible description could be:
“I saved $5,000 on my trip to Thailand! Want to plan your budget-friendly trip? Here are 10 helpful tips for budget travel in Thailand. Learn how to save on flights, accommodation, gear, sightseeing, food, and more!”
Next, include other helpful resources in your video description. These might include:
- Tools or guides mentioned in your video.
- Links to your social media profiles.
- A link to your website or blog.
- Affiliate links.
- Related blog posts or articles.
- Timestamps (for the tips in the video).
- Links to courses or paid offers.
Step 12: Add Keyword Tags
I love TubeBuddy because it does this for you, but you will need to add keyword “tags” to your video.
TubeBuddy allows you to enter a primary keyword, and it will provide keyword variations to use as tags. Otherwise, you will need to research competing videos and see what tags they are using.
Tags help viewers find your video and also find related videos. It’s one way YouTube “categorizes” video content so viewers can better find what they are looking for.
For example, if I am publishing a video about Facebook tools, I might use tags like:
- Facebook.
- Facebook tips.
- Facebook marketing.
- Facebook marketing tools.
- Facebook tutorial.
- Tools for Facebook.
These tags are added to the Tags section as you upload your video to YouTube (same time you add your video title, description, captions, etc.)
Step 13: Upload A Custom Thumbnail
Your video thumbnail is one of the first things people see when encountering your video in the YouTube search results.
So, it is important to have a video thumbnail that is bold, eye-catching, and quickly indicates what the video is about.
 Image from author, March 2023
Tools like Canva make it easy to create custom video thumbnails using photos, elements, stock images, text, icons, and more.
I like taking a photo of myself for my videos, removing the background, and adding text to grab the viewers’ attention.
If graphic design is not your strong suit, consider hiring a freelance designer to create a thumbnail or thumbnail template for you. I can’t overemphasize how important it is to have a great thumbnail photo.
Step 14: Add Subtitles And Captions
Subtitles and captions help viewers understand your content and provide the necessary accessibility to viewers (e.g., hearing impaired) who may rely on subtitles.
While YouTube can’t create custom graphics, it can add subtitles for you. But if you want more accurate subtitles that align with the timestamps on your video, I recommend a tool like Rev.com.
This is a paid service (approximately $20 per video) that provides accurate subtitles that match your video. Then, you simply upload the file to YouTube, and you are ready to go!
Step 15: Add Cards And End Screens
As mentioned previously, end screens and info cards are additional built-in features that allow you to add related content to your videos.
When you upload your video file for YouTube, you will see several fields to complete (e.g., title, description, and tags).
Two of them mention end screen and info cards, which allow you to add links to related videos and add video cards to the end of your video.
Adding these will help keep people on your channel and direct them to your other videos.
Step 16: Organize Your Playlists
Once you have more than a handful of videos live on your channel, you can organize them into playlists.
It is unknown whether this impacts SEO, but it does help viewers find your related content.
For example, I post content related to SEO and freelance writing, so I have these respective playlists on my channel. That way, people can binge-watch all the videos in their chosen playlist.
Grow Your Channel With YouTube SEO
YouTube is one of my favorite search engine channels, given the engaging medium of video and how easy it is for people to “go viral” with great content.
Even a single video can blow up if the content is engaging and well-optimized (or, if you’re lucky, just plain entertaining).
The YouTube SEO tips above will help you optimize your channel, research video tops, record your videos, optimize your content, and drive user engagement – the recipe to YouTube success.
So, don’t wait – record your video today and see what YouTube can do for your brand.
More Resources:
Featured Image: Stokkete/Shutterstock